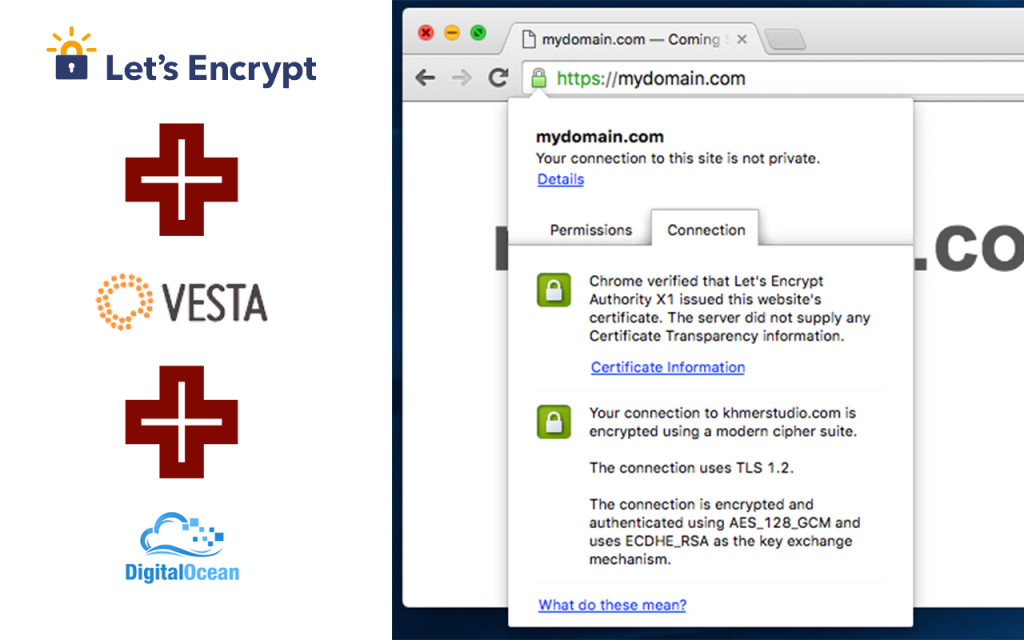
Vesta Control Panel คือ?
Vesta เป็น Web Hosting Control Panel ประเภท Open Source อนุญาติให้เราดาวน์โหลดมาใช้ฟรีๆ เป็น CP ที่ติดตั้งได้ง่ายมากเมื่อเทียบกับ CP ตัวอื่นๆ และใช้ Native Package ทั้งหมดของ OS ซึ่งมีข้อดี คือ ถ้าหากต้องการอัพเดท Package สามารถใช้คำสั่ง yum update ได้ตามปกติ เพราะระบบไม่มีการแยก compile กับ OS แต่อย่างใด
SSL คืออะไร? SSL หมายถึง Secure Socket Layer และวัตถุประสงค์หลักคือการปกป้องข้อมูลที่สำคัญของคุณบนอิ นเทอร์เน็ต การเพิ่ม SSL ลงในเว็บไซต์ของคุณธุรกิจของคุณจะได้รับความไว้วางใจจากลู กค้ามากขึ้นเนื่องจากจะเก็บข้อมูลสำคัญทั้งหมดไว้ให้ปลอดภ ัยจากแฮกเกอร์
LetsEncrypt Installation 
ก่อนที่คุณจะสามารถขอรับใบรับรองฟรีจาก LetsEncrypt ได้คุณจะต้องติดตั้ง LetsEncrypt Client บนเซิร์ฟเวอร์ของคุณก่อน บนคอมพิวเตอร์ของคุณใช้ซอฟต์แวร์หรือเทอร์มินัลเพื่อเชื่อ มต่อกับเซิร์ฟเวอร์ของคุณและทำตามขั้นตอนต่อไปนี้:
Step 1: clone the installation script
Run the following command to download LetsEncrypt installation script on to your server /opt/share/
$ sudo git clone https://github.com/letsencrypt/letsencrypt /opt/share/letsencrypt
Step 2: Install all LetsEncrypt’s dependencies
Run letsencrypt-auto script resides in /opt/share/letsencrypt/ will installs all of its own dependencies and updates the client code automatically.
$ sudo /opt/share/letsencrypt/letsencrypt-auto --help
It will take a few minutes to download and install all dependencies. We use --help parameter here in order to prevent the script from displaying HTTPS Activation wizard because we will manually generate a certificate for a specific domain later.
Generate Certificate for your Website
After you have properly installed LetsEncrypt, now you can generate the certificate for any websites on your server. Here, we will generate a certificate for our website named domain.com.
Note: make sure that you have already add mydomain.com to VestaCP and point mydomain.com and www.mydomain.com to your VestaCP server correctly.
Run the following command to generate a certificate for mydomain.com:
$ /opt/share/letsencrypt/letsencrypt certonly --webroot -w /home/admin/web/mydomain.com/public_html/ -d mydomain.com -d www.mydomain.com
Next, you will ask to enter an Email Address for key recovery:
Admin Email Address
Agree to the LetsEncrypt Terms of Service.
LetsEncrypt Agreement
Now, it will generate 4 files under /etc/letsencrypt/live/mydomain.com as below:
cert.perm – will be used for SSL Certificate
chain.perm – will be used for SSL Certificate Authority / Intermediate
fullchain.perm
privkey.perm – will be used for SSL Key
เพิ่มใบรับรองให้ VestaCP รู้จัก 
You have already generated all certificate information, now it’s time to apply the certificate to your website. To do so, you need to log into your VestaCP > WEB and click on EDIT
ตัวอย่าง: VistaCP > WEB > mydomain.com 
จากนั้นคุณจะต้องคัดลอกเนื้อหาของไฟล์ใบรับรองที่สร้างขึ้ นสามโดยใช้คำสั่ง cat และวางลงในช่องด้านล่าง ตัวอย่าง:
$ cat /etc/letsencrypt/live/mydomain.com/cert.perm
$ cat /etc/letsencrypt/live/mydomain.com/privkey.perm
$ cat /etc/letsencrypt/live/mydomain.com/chain.perm
Pasting Certificate Info 
Click Save 
จากนี้เว็บไซต์ของคุณสามารถใช้ SSL โดยทุกครั้งต้องพิมพ์ https นำหน้าชื่อเว็บ
After you finishing apply certificate information to your website, now it’s time to test your secure connection via HTTPS. Open up your favorite browser and type your domain name with https protocol as below:
https://mydomain.com 
mydomain.com-certificate-verified
If you get the result as the picture above, it means that you have successfully installed a FREE certificate for your website.

 เพิ่มบทความใหม่


